First Steps After Water Intrusion: Containment and Initial Record-Keeping
The first hours after discovering water damage determine whether your claim moves smoothly or stalls indefinitely. Before you make any repairs, you must establish a clear timeline and create an initial record that proves when the damage occurred and what immediate steps you took.
Start by stopping the water source if it’s safe to do so. Shut off the main water line for burst pipes, turn off appliances causing leaks, or contain the affected area. If the water level poses an electrical hazard or the ceiling shows signs of collapse, evacuate immediately and call emergency services. Your safety always comes first, but once you’re secure, begin your documentation.
Contact your insurance carrier within the first 24 hours. Most policies require prompt notification, and delays can jeopardize your coverage. When you call, ask for the claim number, the adjuster’s name and contact information, and clarification on what immediate mitigation steps your policy covers. Take notes during this conversation, including the date, time, and the representative’s name.
While waiting for the adjuster, take wide-angle photos and videos of every affected area. Capture water levels, visible damage to walls and floors, and any belongings that have been soaked. In Greenville’s humid climate, water damage accelerates quickly; moisture trapped in drywall or insulation can lead to mold growth within 48 hours. Documenting the initial state before any drying begins creates a baseline that adjusters use to assess severity. Do not begin extensive cleanup or throw away damaged items until you’ve photographed everything and received guidance from your insurer.
Capturing Visual Proof: Photography Techniques That Strengthen Your Case
Insurance adjusters rely on visual evidence to validate the extent of damage, so your photography must be thorough and methodical. Start each room with a wide-angle shot that shows the overall layout and scope of the damage. Then move in for close-ups of specific problem areas: water stains on ceilings, warped baseboards, soaked carpets, and damaged personal property.
Use your smartphone’s timestamp feature or a camera with date and time stamps enabled. These timestamps prove when the damage occurred and help counter any adjuster claims that the damage is older or unrelated to the incident. Take multiple angles of each damaged item, including serial numbers, brand labels, and model information where visible. If you’re documenting a flooded basement, photograph the water line on the walls to show how high the water rose.
In Greenville, seasonal storms and heavy rainfall can cause sudden flooding, especially in low-lying areas near the Reedy River. Capture exterior shots showing standing water, roof damage, or compromised gutters that allowed water intrusion. If a burst pipe during a winter freeze caused the damage, photograph the pipe itself, the surrounding insulation, and any ice buildup that may have contributed.
Video walkthroughs supplement your photos by providing context and showing the relationship between damaged areas. Narrate as you record, stating the date, time, and describing what you’re filming. Move slowly through each room, pausing to highlight specific damage. This creates a comprehensive visual record that’s harder to dispute than photos alone. Store all digital files in multiple locations: cloud storage, external hard drive, and email copies to yourself to ensure nothing is lost if your device fails.
Room-by-Room Inventory: Systematically Cataloging Losses and Estimating Replacement Costs
A detailed, room-by-room inventory transforms a vague claim into a concrete calculation of loss. Begin with the most severely damaged areas and work outward. For each item, record the description, brand, model number, serial number (if applicable), purchase date, original cost, and estimated replacement value. If you don’t have receipts, check email confirmations, credit card statements, or warranty registrations.
Group items by category: furniture, electronics, clothing, appliances, flooring, and structural elements. This organization helps adjusters process your claim faster and ensures nothing is overlooked. For high-value items like electronics or antiques, provide additional documentation such as appraisals, purchase receipts, or photographs from before the damage occurred. If your homeowner’s policy includes a personal property endorsement, review the coverage limits for each category to understand what you’re entitled to recover.
Greenville’s high humidity levels mean water-damaged items often deteriorate rapidly. Carpets and upholstery can develop mold within two days if not dried properly, and wooden furniture may warp beyond repair. Document this progression with follow-up photos if the adjuster’s visit is delayed. Note any odors, discoloration, or structural changes that develop over time.
Create a master spreadsheet or use a home inventory app to compile everything in one place. Include columns for item name, location, condition (destroyed, repairable, or salvageable), estimated repair cost, and replacement cost. Attach your photos to each line item so adjusters can see exactly what you’re claiming. This level of detail reduces back-and-forth questions, speeds up processing, and demonstrates that you’ve taken the documentation process seriously, which can positively influence the adjuster’s assessment.
Partnering With Restoration Specialists to Strengthen Your Documentation and Recovery
How you communicate with your insurance adjuster directly affects the outcome of your claim. When the adjuster arrives, walk them through every damaged area and provide copies of your photo inventory, receipts, and timeline notes. Be factual and precise; avoid exaggerating the damage or speculating about causes you’re not certain of. Adjusters are trained to spot inconsistencies, and credibility matters.
Prepare a written summary before the meeting that outlines the incident: the date and time you discovered the damage, the suspected cause, immediate actions you took, and a list of affected rooms and belongings. This summary keeps the conversation focused and ensures you don’t forget critical details under pressure. Ask the adjuster to explain how they’re calculating depreciation, what your deductible will be, and the expected timeline for payment.
Be cautious of lowball initial offers. Adjusters sometimes issue quick settlements based on incomplete assessments, hoping you’ll accept before realizing the full extent of the damage. If the offer seems inadequate, politely request a detailed breakdown of how they arrived at that figure. Compare it against your inventory and replacement cost estimates. If discrepancies exist, provide additional documentation or request a second inspection.
Document every interaction with your insurer. Keep a log of phone calls with dates, times, names, and summaries of what was discussed. Follow up verbal conversations with email confirmations to create a paper trail. If your claim is denied or underpaid, this record becomes critical evidence for disputes or appeals. In Greenville, where water damage restoration and storm-related claims are common, adjusters are familiar with local conditions. Reference regional factors like humidity or seasonal storm patterns when explaining why damage escalated quickly. Working with restoration contractors who understand insurance claim management can also provide documentation that supports your case, including moisture readings, structural assessments, and mitigation timelines that validate your claim’s legitimacy and urgency.
Avoiding Common Documentation Pitfalls That Delay or Reduce Payouts
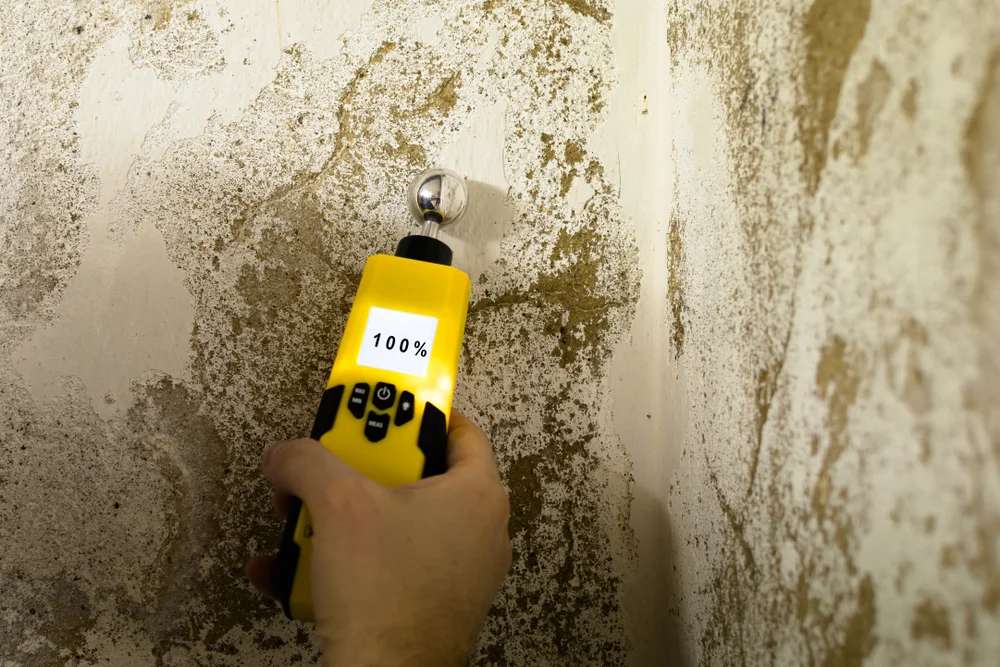
While homeowners can handle initial documentation, bringing in a water damage restoration team early adds a layer of authority and technical precision that insurance companies respect. A qualified restoration contractor arrives with calibrated moisture meters, thermal imaging cameras, and hygrometers that measure humidity levels in walls and subfloors, areas invisible to smartphone cameras. These readings provide objective data that supports your claim and prevents disputes over hidden damage.
In Greenville, where summer humidity regularly exceeds 70 percent and afternoon thunderstorms can drop several inches of rain in hours, water intrusion often extends beyond visible surfaces. Restoration specialists document moisture migration through framing, insulation, and subflooring, creating a detailed mitigation plan that becomes part of your claim file. This professional assessment establishes the true scope of damage before mold colonization begins, typically within 24 to 48 hours in our climate.
Restoration contractors also photograph and log their mitigation work in real time, creating a before-and-after record that shows the insurance company exactly what steps were necessary to prevent further loss. This documentation includes moisture readings at the start and end of the drying process, equipment placement logs, and daily progress notes. When your adjuster sees this level of detail, they have fewer reasons to question the scope or cost of the restoration.
Services such as 24/7 water damage restoration respond immediately to secure your property and begin documentation, reducing the gap between damage and professional assessment. Faster mitigation means less secondary damage, lower claim costs, and a cleaner approval process. If repairs extend into structural work, drywall replacement, or flooring installation, having the same team handle both documentation and restoration ensures consistency across your entire claim file.